
タイトルそのままですが、Excelのデータをフォームにコピペしたら、セルごとに分割してペーストされる動きをJavaScriptで実装したのでメモ。
セルごとに分割してフォームにコピペする動作を確認する(デモ)
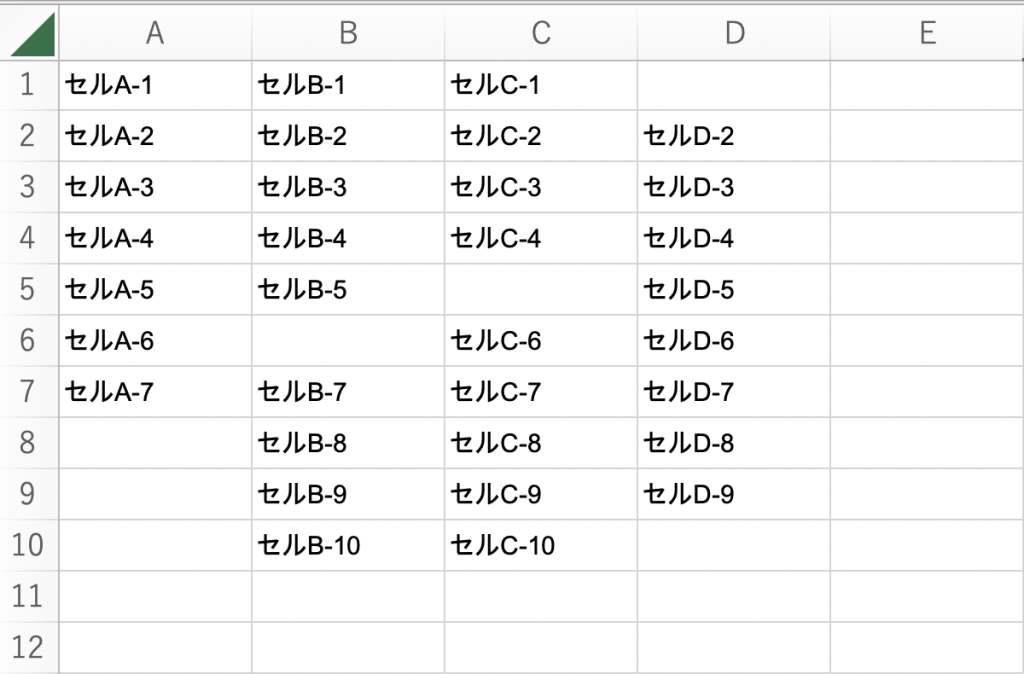
例えば、次のようなエクセルのデータをコピペすると、セルごとに分割してペーストされます。
Input要素がすべてクリアされるボタンも追加しました。
実際の動きはサンプルでご確認ください!
See the Pen input-table by donguri2020 (@m-ke) on CodePen.
検証用のExcelデータがない場合、貼り付け用のテキストを準備したので、次のようにコピペして動きを確認できます。
コード(全体)
HTML
HTMLはシンプルにDIVタグだけを用意し、#input_wrapというID名をつけておきます。
※#input_wrapにInputタグを動的に追加するので、子要素は入れないようにします。
クリアボタンが必要でしたら次のように#clear_btnというIDでボタンを追加します。
<!-- クリアボタン  -->
<button id="clear_btn">クリア</button>

<div id="input_wrap">
  <!-- ここにInput要素を作成 -->
</div>
JavaScript
こちらがJavaScript全体のコードです。
const inputWrap = document.querySelector('#input_wrap');
const clearBtn = document.querySelector('#clear_btn');

window.addEventListener('DOMContentLoaded', function(){
  // input要素を作成する
  InputFactory(60, 4, inputWrap);
});

// input要素を作成
function InputFactory(row, col, parentNode) {
  for (let i = 0; i < row; i++) {
    const createDiv = document.createElement('div');
    for (let j = 0; j < col; j++) {
      const createInput = document.createElement('input');
      createInput.type = 'text';
      createInput.name = `input${i}-${j}`;
      createDiv.appendChild(createInput);
      const pastInput = new PastInput(createInput);
    }
    parentNode.appendChild(createDiv);
  }
}

// ペーストした時の処理
class PastInput {
  constructor(target) {
    this.target = target;
    this.event();
  }
  event() {
    this._getInputRowCol();
  }
  // ペーストした時のInputの位置(rowとcol)を取得
  _getInputRowCol() {
    const target = this.target;
    // ペーストイベント
    target.addEventListener('paste', (e) => {
      // ターゲット要素(input)
      const targetInput = e.target;
      // 全てのDIV要素取得
      const divAll = inputWrap.querySelectorAll('div');
      console.log(divAll)
      // 全てのInput要素取得
      const inputAll = inputWrap.querySelectorAll('input');
      // ターゲットの親要素(DIV)取得
      const targetDiv = targetInput.parentNode;

      // 全てのDiv要素取得をArrayに変換
      const divAllAry = Array.from(divAll);
      // 全てのInput要素取得をArrayに変換
      const inputAllAry = Array.from(inputAll);

      // ターゲット要素のrowとcolインデックスを取得
      const rowIndex = divAllAry.indexOf(targetDiv);
      const colIndex =
        inputAllAry.indexOf(targetInput) % targetDiv.children.length;

      // ペーストした値をInput要素に反映
      this._textPaste(rowIndex, colIndex);
      console.log(rowIndex, colIndex)
    });
  }
  _textPaste(row, col) {
    // ペーストしたInput要素を取得
    const target = this.target;

    setTimeout(() => {
      // ペーストしたInput要素のテキスト取得
      const pasteText = target.value;
      // ペーストしたInput要素のテキストを配列に変換
      const pasteAry = pasteText.split(' ');

      // テキストをそれぞれのInput要素に分割して反映
      pasteAry.forEach((pastItem, index) => {

        const currentDiv = inputWrap.children[row + index];
        console.log(inputWrap.children)
        const resultItem = pastItem.split(/\t/);

        // Input要素があればテキストを反映
        if (currentDiv !== undefined) {
          for (let i = 0; i < resultItem.length; i++) {
            const currentInput = currentDiv.children[col + i];
            if (currentInput !== undefined) {
              currentInput.value = resultItem[i];
              // 背景色追加のCSS追加
              currentInput.classList.add('starting-point');
               // 背景色追加のCSS削除
              setTimeout(() => {
                currentInput.classList.remove('starting-point');
              }, 500);
            }
          }
        }
      });
    });
  }
}

// データを全てクリアする
clearBtn.addEventListener('click', (e) => {
  const inputAll = inputWrap.querySelectorAll('input');
  // 全てのInput要素をArrayに変換
  const inputAllAry = Array.from(inputAll);
  for (let i = 0; i < inputAllAry.length; i++) {
    const targetInput = inputAllAry[i];
    targetInput.value = '';
  }
});
Input要素をいくつ生成するか設定する
コードをコピペすれば動くと思いますが、Input要素を生成する際の個数を設定できるようにしました。
以下の関数で生成しています。
InputFactory(<縦の個数>, <横の個数>, <生成する要素>);
引数に、縦と横に並べるInput要素の数と、Input要素を生成する親要素を指定します。
今回Input要素を生成する親要素は、#input_wrapです。
以下のコードは、#input_wrapに縦60個、横4つのInput要素を生成します。
※関係のある箇所だけを抜粋しました。
<div id="input_wrap">
<!-- ここにInput要素を作成 -->
</div>

<script>
  const inputWrap = document.querySelector('#input_wrap');

  window.addEventListener('DOMContentLoaded', function(){
    // input要素を作成する
    InputFactory(60, 4, inputWrap);
  });
</script>
まとめ
このコードを使用する際の注意事項ですが、Excelのセルの値に半角スペースが入らないことが前提となっています。
というのも、複数のセルをコピーすると、セル同士の間に半角スペースが入るからです。
Excelからコピーした値をInput要素に分割して貼り付ける際、この半角スペースを判定の基準としています。そのため、データに半角スペースが入っている場合、うまく機能しません、、。
そもそもコピペするデータ量が多ければ、素直にCSVファイルなどを読み込んだ方が良いかもしれません。
とりあえず動く機能がつくれたのでメモしておきます!